Chilling – Patience Pays Off
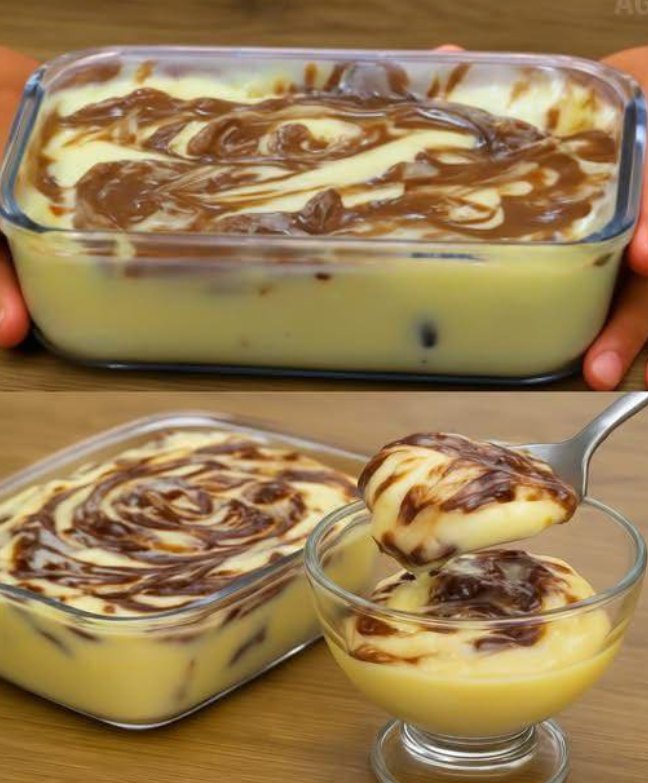
Pour the finished, hot cream into your chosen dish. This can be a rectangular glass baking dish, a porcelain bowl, or even individual dessert cups – the choice is yours. If you plan to serve the dessert directly from the dish, it's worth choosing clear glass, which will showcase the appetizing layer of cream and, in the case of the chocolate version, the picturesque swirls of melted chocolate.
The dessert needs to be refrigerated for at least 2 hours, although it tastes best after 4-5 hours, or even overnight. During this time, the cream stabilizes, becomes firmer, and the flavors infuse. The chocolate version becomes more compact and has a more intense flavor. The low-temperature bath allows the dessert to reach its ideal serving temperature – cool, refreshing, but not icy.
Do not, under any circumstances, try to shorten this stage by placing the dish in the freezer. Rapid cooling can cause the fat to separate from the rest of the mixture, resulting in an unappetizing, watery layer on top. The dessert should be cooled slowly, at a stable temperature of around 4°C (39°F).
Serving – the finishing touch
Before serving, it's a good idea to remove the dessert from the refrigerator for 5–10 minutes to soften it slightly and release its full flavor. Then, spoon it over the filling or, if serving in glasses, serve immediately. It's already delicious on its own, but there's nothing stopping you from enhancing it with toppings:
Seasonal fruit – raspberries, strawberries, blueberries, canned peach slices, or grilled mango slices – their tartness perfectly balances the sweetness of the cream;
Crispy toppings – crushed biscuits, meringues, walnuts, or flaked almonds toasted in a dry pan; Chocolate decorations – white or milk chocolate shavings, a bit of cocoa powder sprinkled through a strainer, caramel icing;
Herbs and spices – a fresh mint leaf, a pinch of cinnamon, a pinch of chili powder (for the brave).
This two-ingredient dessert is so delightful that it can be served for both an everyday afternoon snack and an elegant party. In a minimalist version – served alone in a clear glass – it looks stylish and modern. In a richer version – decorated with fruit and whipped cream – it can successfully replace a traditional cake.
Variations and uses – one recipe, many possibilities
The described cream is an excellent base for culinary experiments. Here are some tried-and-true ideas for using it:
Cake and pastry filling – this thick, stable cream holds its shape perfectly between sponge cake layers. Simply sandwich the baked discs with it, chill the mixture overnight, and you'll have a moist, intensely sweet cake. Peacock Layer – Alternate layers of cream, crushed biscuits, and fruit. It's best to prepare this dessert the day before so that the biscuits soften and combine with the mixture.
Ice Cream Base – The chilled mixture can be poured into an ice cream maker or frozen in a flat container, stirring vigorously with a fork every hour. This will produce creamy ice cream without the addition of egg yolks and without the need for cooking.
Pancake and Waffle Sauce – If you skip the long chilling step and leave the cream at room temperature, you'll obtain a thick, pourable sauce with the consistency of warm caramel.
Vegan Version – Although this isn't a two-ingredient dessert, you can experiment: plant-based condensed milk (e.g., coconut or oat) and coconut cream (only the thick part) will produce a similar effect, albeit with a different flavor profile.
The rest of this article is on the next page. Advertisement